| Version 5 (modified by ntj, 10 years ago) |
|---|
Getting started guide
This guide helps a beginner to get ADEI setup on their computer.
Setup
1. Make sure you know where is your apache2 localhost path. On Ubuntu, it's usually at /var/www, if not, you can try to find out where is your DocumentRoot (http://ubuntuforums.org/showthread.php?t=878665).
2. After you know where is your DocumentRoot, clone ADEI following the instruction on this page (http://adei.info/adei/wiki/adeiRCS).
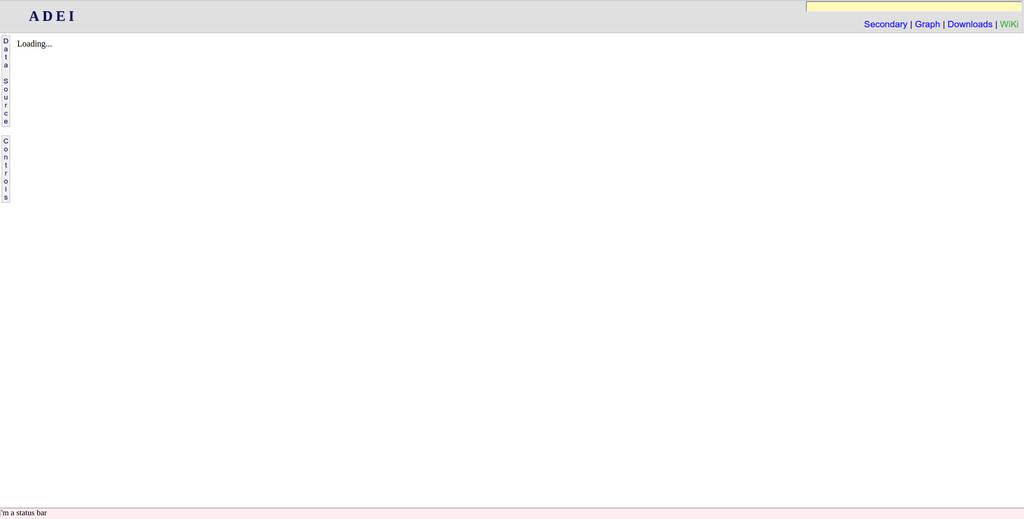
3. Launch http://localhost/adei/ on your webbrowser and you will see
This basic layout is the default layout of ADEI (most basic with almost non-styling).
At this point, nothing is working. ADEI requires data in database to be functional. For this purpose, we will setup a test data to launch ADEI.
4. You'll need to tell ADEI which setup to load, in this tutorial, we will load our test data called autogen. Create a "config.actual.php" with the following content:
<?php
    $ADEI_SETUP = "autogen";

    $ADEI_RELEASE = false;
    $LOGGER_LOG_REQUESTS = false;
    $LOGGER_LOG_OUTPUT = false;

    $ADEI_DB = array (
	"host" => "localhost",
	"port" => 0,
        "database" => "adei",
	"user" => "adei",
	"password" => "adei"
    );
?>
Notice that $ADEI_SETUP is pointing to autogen. This can be found at /setup under autogen folder. Here I have also created a mysql user called adei with password adei. If you're unfamiliar how to do this, please check this (https://www.digitalocean.com/community/tutorials/how-to-create-a-new-user-and-grant-permissions-in-mysql)
5. After this go to /system and run:
php cache.php
This script will load the mock data into our mysql database.
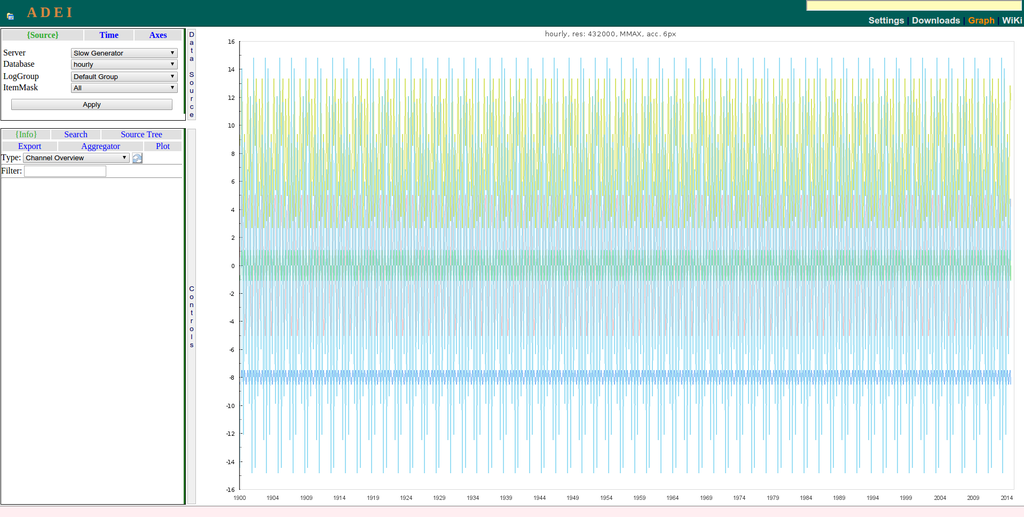
6. Now when you refresh the page you will see this:

